

Payments
How to set up a QR code for payment
By OpenQR · updated 22 November 2026
7 min read · Updated 22 November 2026
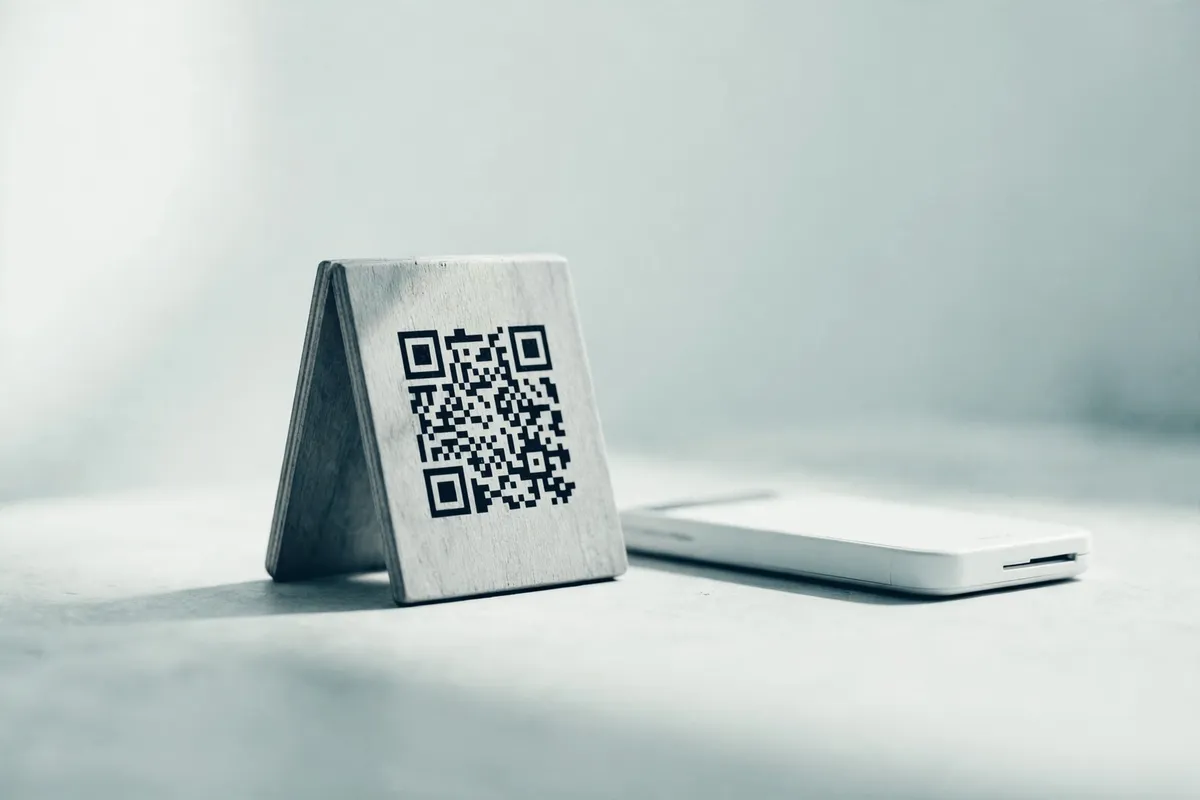
Step 1: decide what happens at checkout
There are four things a payment QR code can do. Pick the one that matches how you get paid, and the rest of the setup is mechanical.
| The code contains | What the customer’s phone does | Best for |
|---|---|---|
| A bank transfer payload (EPC, UPI, PIX) | Opens their banking app with the transfer pre-filled | Invoices, bills, counter payments in the rail’s home region |
| A payment link from your provider | Opens a checkout page (PayPal, SumUp, Stripe and similar) | Selling online and in person with one link |
| A link to your own payment page | Opens the page you already run | Anyone with an existing checkout or booking page |
| A plain web address | Opens any page you point at | The flexible case, covered under dynamic codes below |
The bank rails are region-shaped. Europe’s EPC code pre-fills a SEPA transfer and works in eurozone banking apps; India’s UPI and Brazil’s PIX do the same job in their own apps. We have a full guide to each: EPC and GiroCode, UPI and PIX. If you are not in one of those regions, a payment link is usually the honest answer.
Step 2: build the payload
For a bank rail, the code must follow the standard exactly or the banking app will refuse it. OpenQR builds each of the three to spec, with validation before you download: the EPC / GiroCode generator (IBAN checksum included), the UPI generator and the PIX generator. Pick error correction level M, or Q if the code will live somewhere it can get scuffed; paper payment codes benefit from the damage tolerance and stay comfortable to scan.
For a payment link, the payload is just the link itself. Your payment provider gives you the URL; the URL QR code generator turns it into a printable code. If the link is long and ugly, that is fine: a QR pattern holds it regardless, and shortening is optional, not required.
Step 3: choose static or dynamic
A static code prints the payload itself. It never expires, needs no account, and works for as long as the details inside it stay correct. Its limits are the same property read from the other side: change the amount, the link or the account and you reprint everything.
A dynamic code prints a short link that forwards to the real destination. You change where it points without touching the printed pattern, and you get a scan count. That matters for payments signage: menus change, payment pages move, campaigns end. The trade-off is real and we state it plainly: a dynamic code depends on the service behind the short link staying up. The full comparison is in static vs dynamic QR codes.
Step 4: test before you print
Scan the finished code with at least two different phones before it goes anywhere near a printer. One banking app, one ordinary camera app if the code is a link. Check three things: the code opens the right destination, the amount (if you set one) is what you expect, and the name shown matches the account that should receive the money.
Then print at a sensible size. Two centimetres square is the working floor for a code scanned at arm’s length; bigger is better on a counter or a door. The detail is in our print size guide, including how distance changes the minimum.
Step 5: put it where the money changes hands
- Counter cards and table tents: the classic. Card stands survive menu changes better than printed menus do.
- Invoices: the EPC standard was practically built for this; the reference line reconciles the payment to the invoice automatically.
- Windows and doors: these are scanned from further away, so print bigger; distance sets the minimum size.
- Till screens: showing the code on your own screen beats a sticker for per-transaction amounts.
One honest limit
A printed payment code confirms nothing back to you. The customer’s app shows them a success screen; you see the arrival in your bank account or provider dashboard, or you do not. If you need per-transaction certainty at the till, that comes from your payment provider’s checkout, not from the QR pattern.
When the setup is done, the pattern you printed is doing one job: removing typing. The customer confirms the rest in their own app, which is also where the security sits. If you want the wider picture of how the rails differ, read payment QR codes compared.